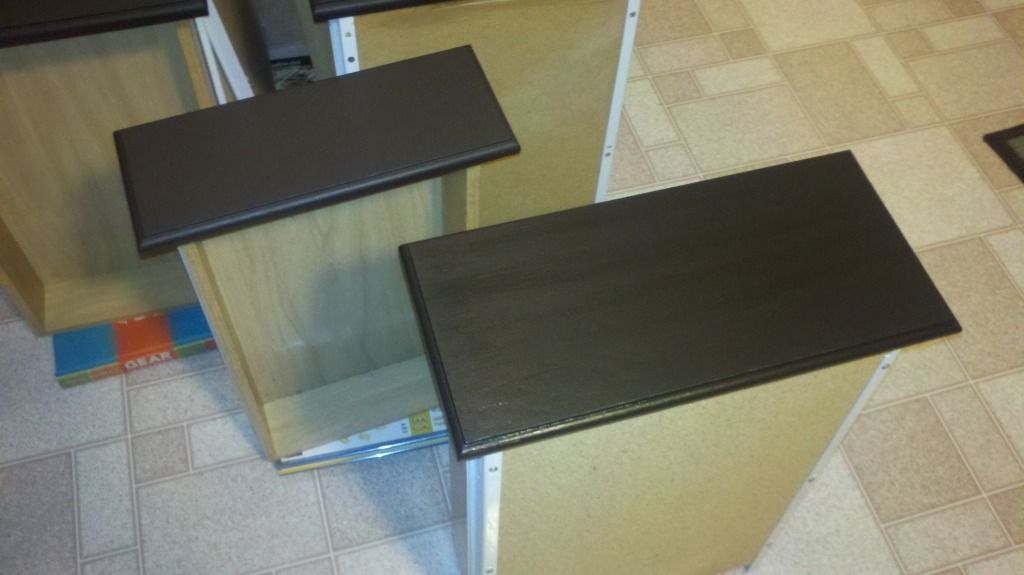
Most of these are photos of applying the bond coat. The kit insisted that this bond coat paint was specially formulated, but I believe a flat paint would get the job done. If the de-glossing step is done well, the bond coat is a breeze.
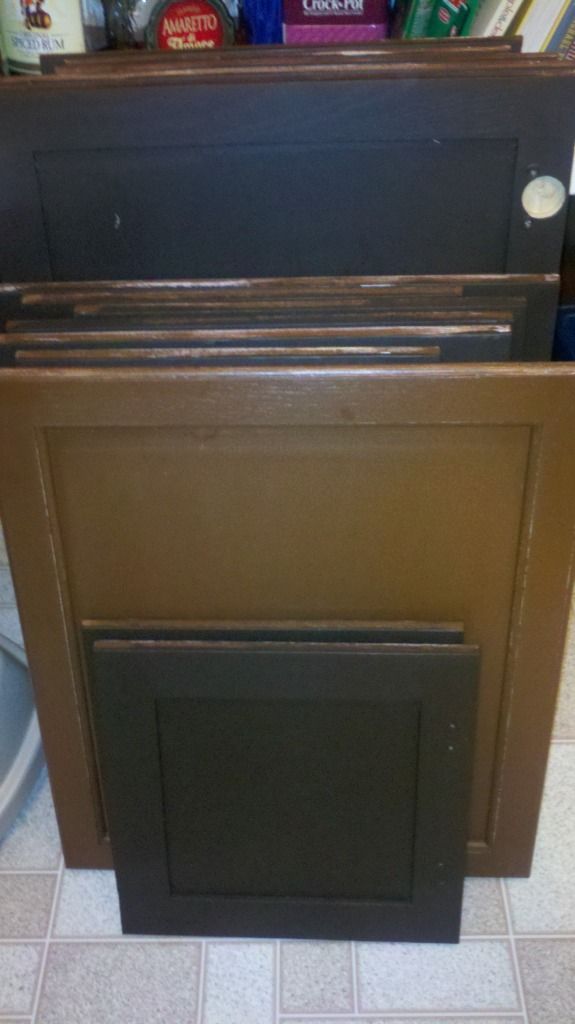
The darker color looks much better than the strange, medium brown before. However, that medium brown was a big step from the original light maple.
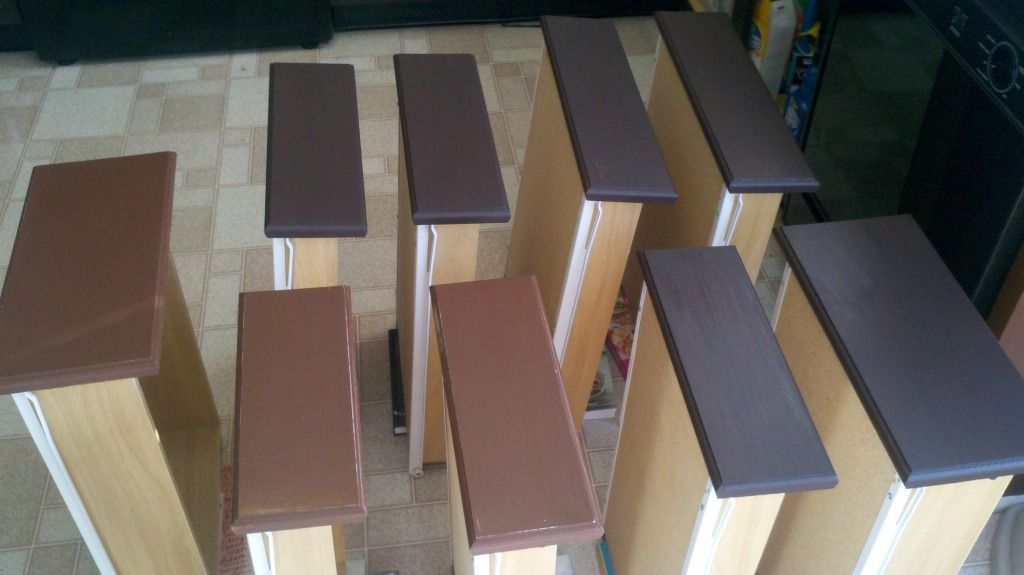
Everything must be painted with two bond coats, so it's time consuming and not very exciting. I used this opportunity to watch/listen to every episode of "How I Met Your Mother" on Netflix. Good show!
It's very hard to tell, but this picture shows the difference between the bond coat and the decorative glaze. Not much of a difference, I know. It's more noticeable in person, with the glaze giving depth and richness. If you choose a lighter color, the glaze is much more apparent. It is not a necessary step, but I think it gives the cabinets a professional look no matter what color you choose.
Also noticeable in the above picture are the books under the cabinets. the draw pulls were longer than the drawers themselves, so they would not stand on their own. The books kept the drawers from tipping forward, which allowed me to paint every edge. You could also place them flat on a table, with the front slightly hanging over the edge. If you take that approach, you may want to flip the drawers as you paint so that you can ensure you've painted all the edges.
Continue reading about installing hardware and see the results in
Part Three.