Tuesday, April 17, 2012

Upstairs Bath: Start to Finish

 Considering the homes we saw, this bathroom was in great condition.
This is right before we painted. The only thing we did was remove the towel bar and add Aaron's old shower curtain from his apartment.
After we painted, we changed the shower curtain to one I had from college, hung a poster and added some rugs. The shower curtain rod is also new. The box from the new faucet is there on the counter. We replaced the light too, but you can't see it here.
We changed the face places and the mirror too. The mirror was a little too skinny, so it was swapped with the one in the master bath later on.

We changed a lot of details to get to the finished bathroom:
The mirror was swapped, the poster was moved downstairs and a new shelf was added. The shower curtain came from Target. The floor mats are now gray instead of blue. I painted the vanity with the same process from the kitchen cabinets, the counter top was bought on clearance from Menards, and the tiles from the back splash came from Lowes. The new towel rack, which you can barely see, came from Ikea.

Friday, April 13, 2012

The Master Bath: Start to Finish

The kitchen had the biggest transformation, but the bathrooms were in a close second. Everything was functional, but builder grade. The laminate countertop was a little faded, and the lights were the exposed bulb style common in home construction in the '90s. The first thing done was paint, but for reasons I forgot we never finished painting around the cabinet and mirror. When we switched the mirror and light, we didn't paint right away. The outlines are very obvious in the picture below:
Next, we installed clearance counter tops from Menards and tile and repainted the entire bathroom, including the vanity. We didn't intend to replace the counter tops because they were in decent condition, but we chanced upon matching granite tops in the sizes we needed for both our bathrooms. They were about the same price as laminate tops, so we couldn't resist upgrading. We also installed a new faucet, which surprisingly has a pull out sprayer faucet that you usually only see in kitchens. That all happened in a couple of days, so I only have a picture of when we finished.

Thursday, April 12, 2012

The Loft: Start to Finish

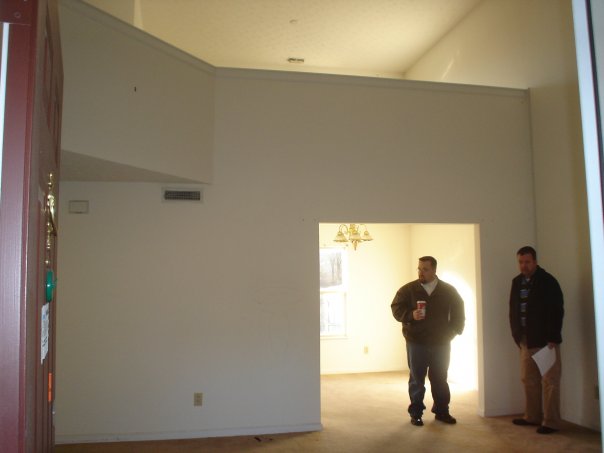
We've begun looking at houses to buy next, and have yet to see one that is as much of a blank slate. Here's the loft when we moved in:
The picture's blurry, but there's nothing to see. The loft got the first home accessory purchase. Before a dining table, before blinds or curtains, there was the lovesac.
We put the cover on and added a few more items after that.
Once we bought the new couches for downstairs, the smaller couch came up here, but that was during the peroxide of lost pictures. This is the next oldest picture, taken right after we bought our new sectional. There were five pieces in all, which we switched from room to room. I think the other two were in our bedroom at this time.
The refrigerator used to sit downstairs in the dining room, right next to the kitchen. It was exclusively filled with soda. We moved it upstairs a couple months before this picture, I think. The pillows we had for a while, they came from Kohls. 
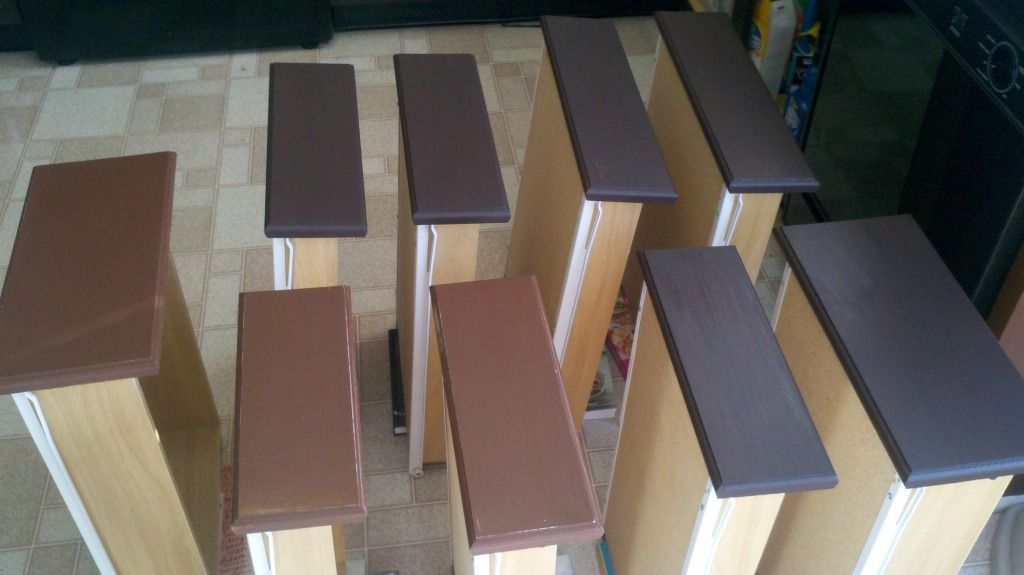
This is an uneventful picture, but its the next one chronologically. This is opposite of the couch, next to the TV. The brown edge is one of three media shelves that lined the window wall. I must have just added the tall shelf with all the gaming consoles. Also, nothing was painted upstairs at this time. 
Hanging the curtain was a big deal. It is made from Target shower curtain and plain black fabric from Ikea. The expandable curtain track came from Menard's closing sale. The same hardware is in our office and guest room. It hasn't been too obvious until now that I am a big fan of skylines. There's at least one in every room of the house.
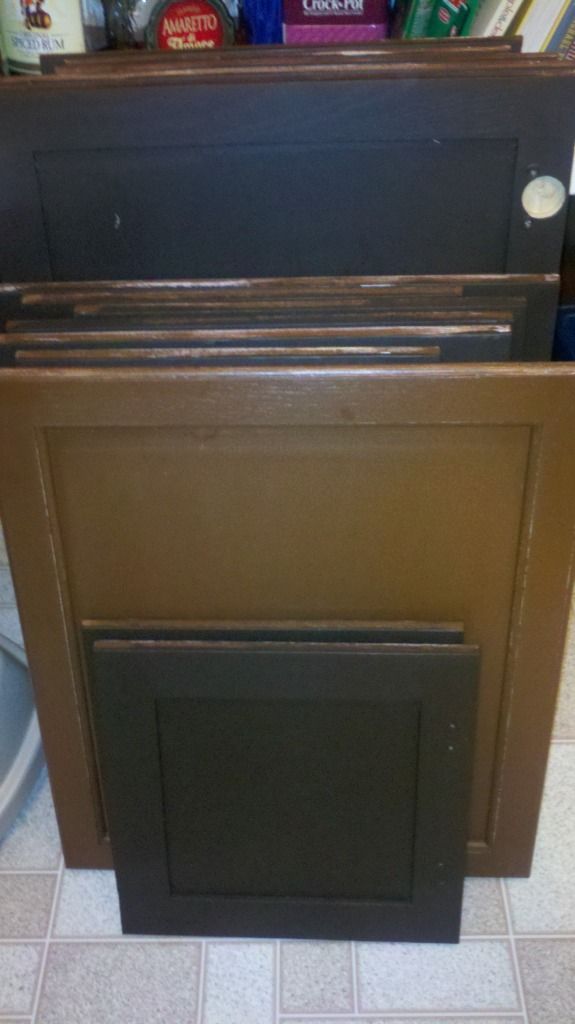
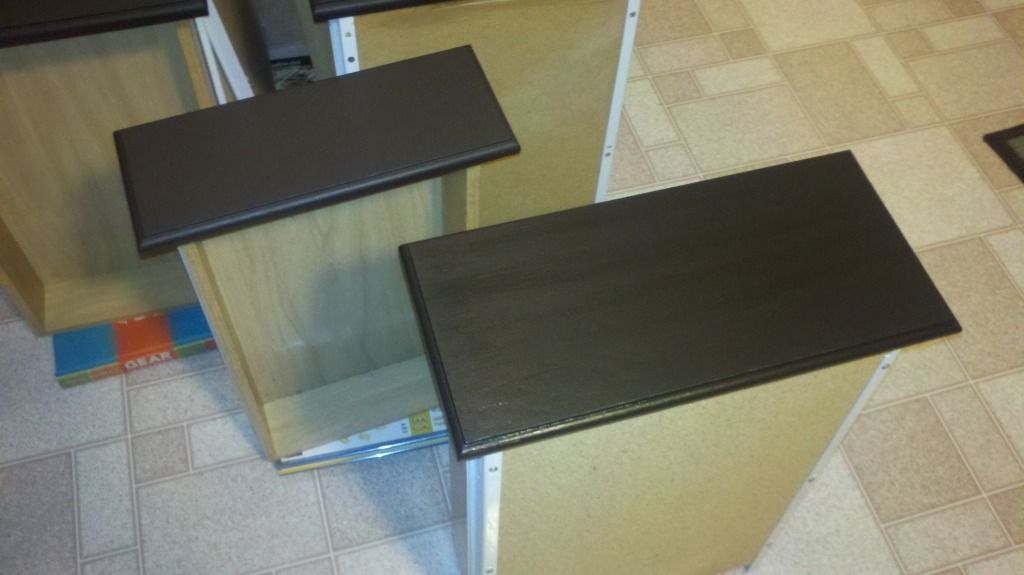
The TV and shelves setup changed a lot, but here it is in final form. We love the upcycled TV stand even though it currently blends into the wall. 
 I added a shelf behind the couch, the frame from downstairs and covers for the couch.

Upcycled Frame

Aside from having a few screw holes, the 1x4s I used when painting the cabinets were like new. After hanging the old bathroom mirror in the living room, I decided to make a frame with the leftover wood.
 I figured I would upholster it or something, so I didn't worry about making the edges meet perfectly. I used basic hardware to hold it together. At this point I remembered some paper sticks I had made but never used. I broke out the hot glue gun and got to work.
The paper sticks were made with magazine pages, rolled up with Elmer's glue from corner to opposite corner. It's easy to do once you get the technique down, but time consuming to create enough for big projects like this one. I also liked to pick pages with interesting edges, because the edge is all you see once it's rolled up. My plan was to glue them on, paint them brown, then rub on black paint that would collect in the grooves. I hoped that when done, it would look similar to the floors. However, once I glued them on I like it so much that I didn't want to paint it.
That meant that the style didn't match the rest of the living room, in my opinion, so I later moved it up to the loft.

Wednesday, April 11, 2012

Upcycled TV Stand

We bought a large flat screen TV, but never bought a stand for it because they were expensive. I wanted a bench style stand, one that was long and low. I had assumed, when I got the tools, I would make one myself. I had found a design I liked and sketched it out when I happened to go to Whitley's with a friend. Goodwill and garage sales were the only places I had been for used furniture. I was overwhelmed to say the least. Whitley's is like shopping in an episode of Hoarders. Just by luck, I found something near the main aisle that caught my eye.
They wanted $50 for this solid wood stereo cabinet with broken speakers. I took it home and suspended more important projects to start removing the insides and cleaning it up. Like a lot of used furniture, it has a dusty, smoky smell that I tried to wipe out with Clorox wipes. Most of the electronics came out easily. Even though I can't imagine using it as an actual record cabinet, I kept the guts just in case.

The other modification I made was to cut the legs to make it shorter. I thought at first that I would just take them off completely and set it on the floor. Cutting the legs was a better choice. Being able to see underneath it makes it look a little less heavy visually. Also, the extra few inches make it a better height for a TV stand.

After using small makeshift stands for so long, we appreciate having something that actually fits our television now. I may stain or paint it in the future.

Upcycled Records

This was a quick little project I did with some old records. I originally intended to melt them in the oven and make bowls. When I needed some extra wall art, I decided to use the records. I simply laid them out in a pattern and hot glued them together. It took only minutes to complete and was easy to hang on nails through the center of the records. The songs and artists are nothing I especially care for, so I may cover them with something else in the future.

The Living Room: Start to Finish

 Like the other rooms, it started out as a blank slate.
 We moved in and realized just how big the house was. Most of what we moved in filled just a fraction of the living room.
 We replaced the carpet quickly and noticed how sad and awkward our couches looked in our new home.
 The other side of the room didn't look much better. This is what we used for a while. Again, it looked much more awkward here than it did in Aaron's apartment. 
We bought our first pieces of brand new furniture from Kittles Rooms Express. We gave away one couch and moved the other one to the loft.

There are some lost photos that show the coffee table we bought and other small improvements. The next one I have is right before we replaced the flooring.
 The TV cabinet came from my parents house, and fit the TV that had been sitting on the loft floor. I painted the half walls before this, but not the taller outside walls. The following picture is a bit random, but it does show when half the room was painted:
Here's the room just before we painted the final walls:
 And finally, this is the room as it is today.

The Kitchen: Start to Finish

When we first moved in, this room clearly needed the most work
First we bought upper cabinets and appliances, but I have lost any pictures from that time. Shortly thereafter we replaced the microwave and painted the cabinets for the first time.
Next I repainted the cabinets with a refinishing kit and added silver hardware.
The final step was adding a glass tile back splash and under cabinet lights

Tile Backsplash

We chanced across this tile at Lowes. It came in 12"x12" sheets for only $3.50 each. Typically, mosaic tile sheets are at least $5 and average between $8 to $15. We bought a few and decided we would mix it with subway tile to create a back splash. I wouldn't have bothered to add this project, but it was very cheap and in the perfect colors. The blue tiles were similar to the wall color, light and medium browns matched the countertop and floor, and the dark tiles went with the new cabinet color. 

Before I installed the back splash, we took a trip to Ikea. These under-cabinet lights were only $30. For $40, you can get ones that allow you to select the color. You can either screw them in on stick them on. Being made with LEDs, they are both lightweight and bright. I used command strips and tiny clear hooks to run the wires under the cabinets. Next, I drilled holes inside to feed the wires to the cabinet over the microwave. The switch for the lights and the extra cords are in that cabinet.
There is special glass mosaic mortar, which I did not use because I had mortar left from tiling the bar top. I imagine the special mortar would help it to slip less when applied to the wall. I tried to keep a consistent pattern before I realized that was impossible, but once finished it all blended together. We decided to scrap the idea of subway tiles and go with all glass. The whole project, including tile, grout, and other supplies was under $150.

At first I ended the tiles at the edge of the countertop. It looked ok, but since I had plenty of tile left I went down the side of the cabinet to the floor.

Kitchen Cabinets Part 3

I wanted to add hardware to the cabinets, but it was nothing I had done before. It took a while to get the spacing correct. I later found out that everyone and their cousin sells plastic guides to do this easily, but it's not too tough without one.
The tape helps protect the cabinets while drilling holes, but also allowed me to draw level lines.
I put handles on the drawer fronts under the sink, even though they don't open. I thought it would look more consistent.
These are the finished doors, waiting to be reattached. This also gives a better view of how they were held up by screws while I painted.
The darker color made more of a difference than I expected. Combined with the hardware, they look like totally new cabinets! I thought this was the completion of the kitchen remodel, but a trip to Ikea and clearance mosaic tiles said otherwise.

Tuesday, April 10, 2012

Kitchen Cabinets Part 2

Most of these are photos of applying the bond coat. The kit insisted that this bond coat paint was specially formulated, but I believe a flat paint would get the job done. If the de-glossing step is done well, the bond coat is a breeze.
The darker color looks much better than the strange, medium brown before. However, that medium brown was a big step from the original light maple.

Everything must be painted with two bond coats, so it's time consuming and not very exciting. I used this opportunity to watch/listen to every episode of "How I Met Your Mother" on Netflix. Good show!
It's very hard to tell, but this picture shows the difference between the bond coat and the decorative glaze. Not much of a difference, I know. It's more noticeable in person, with the glaze giving depth and richness. If you choose a lighter color, the glaze is much more apparent. It is not a necessary step, but I think it gives the cabinets a professional look no matter what color you choose.

Also noticeable in the above picture are the books under the cabinets. the draw pulls were longer than the drawers themselves, so they would not stand on their own. The books kept the drawers from tipping forward, which allowed me to paint every edge. You could also place them flat on a table, with the front slightly hanging over the edge. If you take that approach, you may want to flip the drawers as you paint so that you can ensure you've painted all the edges.

Continue reading about installing hardware and see the results in Part Three.

Kitchen Cabinets Part 1

Even though I painted them once, it was time to paint them again and paint them right. I used the Rustoleum Cabinet Refinishing Kit. Mine was $80, but I've seen them on sale for less. Though it contained the products you needed, it did not have the accessories. I bought gloves, scrubbing pads, and some drop cloths to work on and got down to it ("it" meaning business).
First step was to take off the cabinet doors. Seeing them all open lead me to reorganize my cabinets.
I numbered them to be thorough, but they are all different sizes. I soon disregarded the numbers.You can see how uneven the paint was in these pictures as well, but I did do all the cabinets in only a day. It took a solid week the second time to do them right.
I don't think I took any pictures of step one, which was the de-glossing step. You have to pour a solution onto a scrubbing pad, then wipe down everything you are going to paint. Since I already had paint on the cabinets, the de-glosser made some of the paint come off. This helped me discern whether or not I was scrubbing enough. It's harder to tell on unpainted, glossy cabinets. However, as soon as you start painting you can immediately tell if you missed a spot. If that happens, stop painting and scrub that spot again. 
I did this in January, so working outside or in the garage was not an option. I used a tip mentioned in the instruction book to create a work surface while painting the cabinets. I bought four long 1x4s and drove in screws less than cabinet door width apart. The screws floated the cabinet doors above the floor, allowing me to paint the edges effectively.

Continue reading about painting the cabinets and applying the glaze in Part Two.